Those of you who remember the original Colchester 101 magazine will recall our amazing resident photographer Adrian Multon’s monthly column. Wivenhoe based Adrian is a freelance commercial photographer and we are delighted to have him back on board helping our readers to hone their photographic and Photoshop skills.
The photograph isolates and perpetuates a moment of time, according to American master Edward Weston. But why limit yourself to a single moment?
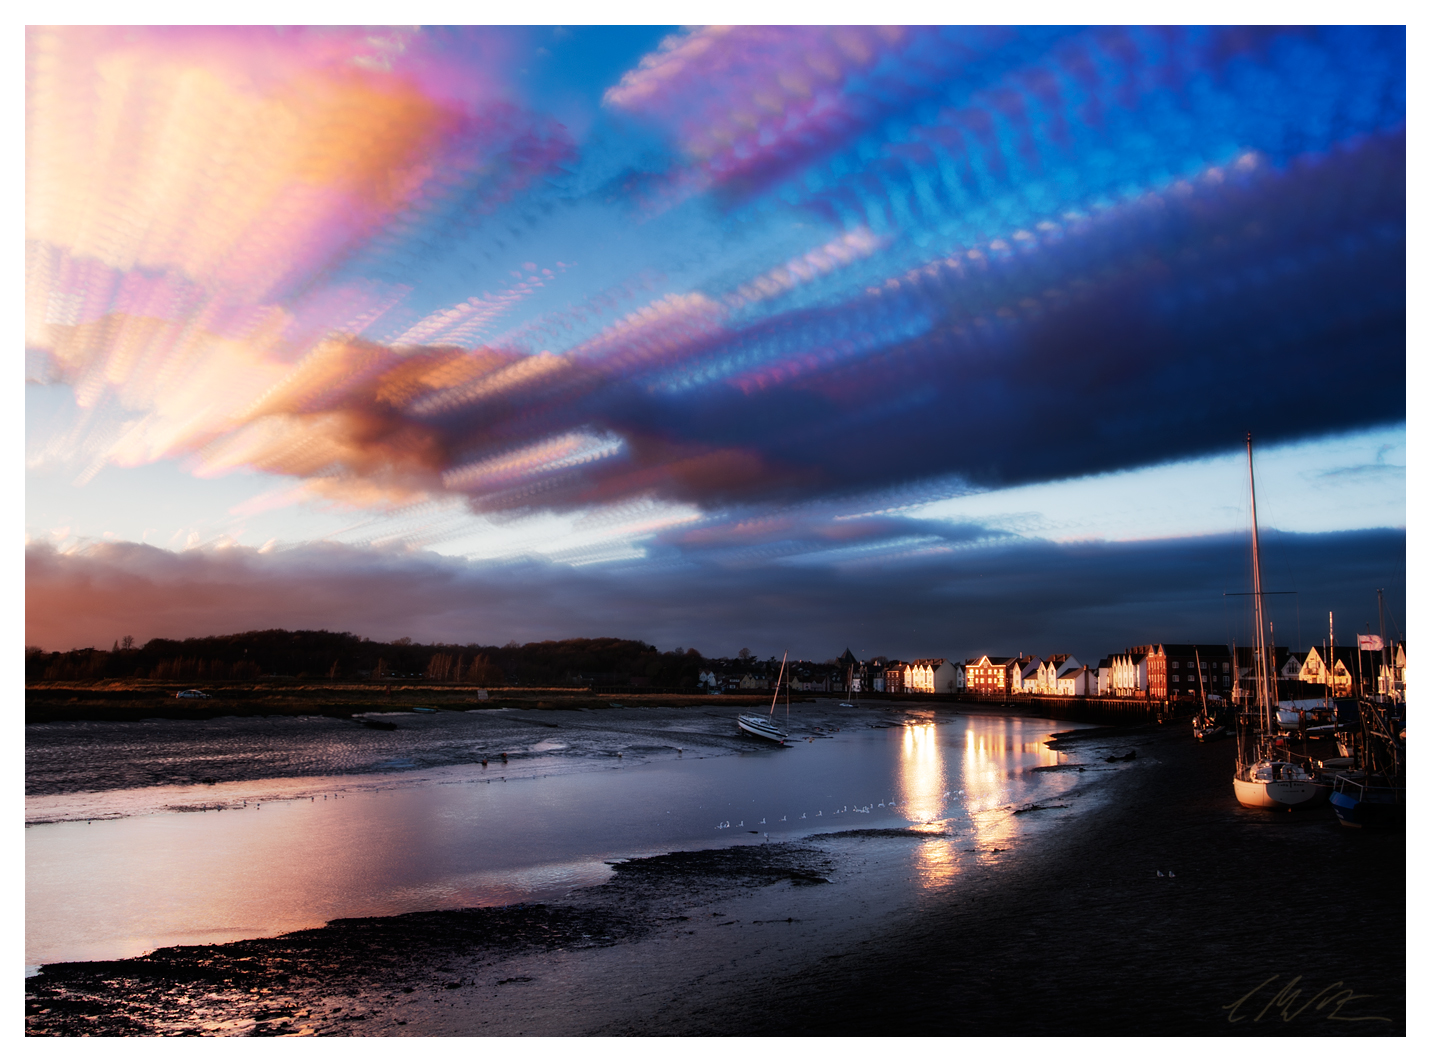
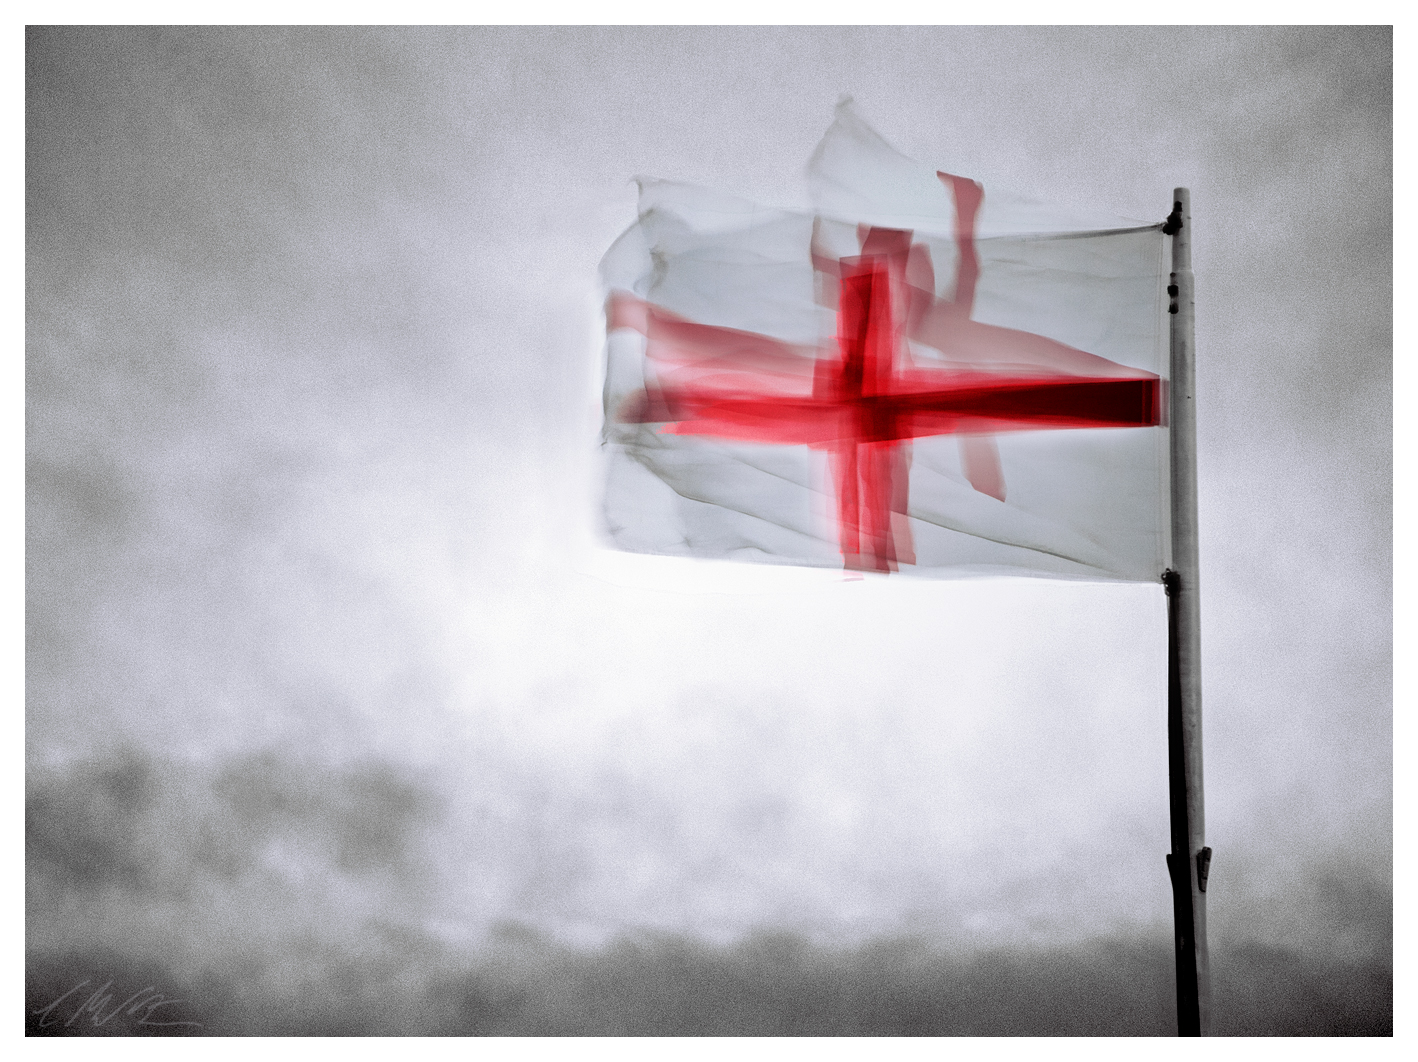
Timestacking gives the appearance of motion to a scene standard photographic technique would render static. It involves blending multiple shots of a scene that contains both static and moving elements. A favourite of time-lapse photographers – the cloudscape makes a great place to start your experiments with time.
 What kit are you going to need for this? Your camera will need interval timer functionality. This allows you to create a regularly-spaced sequence of exposures with a single press of the shutter release button. Many dSLRs have this built in, but others require software downloaded from the web and run from your memory card.
A sturdy tripod will help your camera remain motionless, especially on blustery days. It is also a good idea to set out with an empty memory card and full battery; you do not want to be interrupting a great sequence of shots to swap out either of those items.
Back home you will need image editing software that utilizes layers – so Adobe Photoshop / Elements are okay, but Adobe Lightroom does not implement layers, so will not do the job in this instance. The notes here refer to Photoshop CS6. A basic understanding of layers will also serve you well for this technique.

So, you have found the perfect spot to plant your camera and point your lens at a sweeping North Essex vista. It being a British summer, plenty of dramatic cloud is being chased across the sky by a stiff breeze. Study your composition and choose an element to focus on. By all means use auto-focus, but switch to manual focus before starting the timer to ensure the camera cannot change or lose focus in the event of the focal point being temporarily obscured.
Fire off a few single-frame test shots to get your exposure right. Manual exposure will give consistent exposures when the light level is constant, but aperture or shutter priority modes may be suitable in situations where light levels are changing rapidly.
Once you are happy with the composition and exposure settings, all that remains is to set the interval timer. This feature allows you to specify the number of images exposed in a sequence, and the amount of time between each exposure.
Experiment! Shorter intervals make moving elements appear smoother, but may require more shots overall. Ensure your tripod is secure, set off the interval timer, and stand back….
Card brimming and battery drained, it’s time to get back home for some serious editing. ‘Serious’ because you’re likely to stretch your hardware when combining dozens (or hundreds) of images into one.
After downloading images to a computer, divide them into sets, placing each set in its own folder. Load the first image in a set into your image editing software, check it is sharp, and immediately save it. This is your base image.
Open the next image exposed. Hold down shift and drag the layer from this new file to the base image (shift ensures the frames line up). Repeat this process of adding new layers to the top of the layer stack in the base image until you notice your computer start to creak and slow down (this point will vary depending on available resources and size of image files).
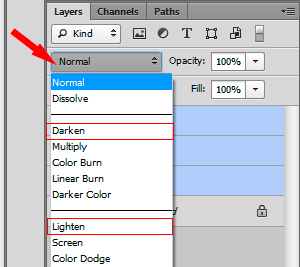
Select all layers apart from the bottom ‘background’ layer and set the layer blending mode to ‘lighten’ or ‘darken’. The choice will depend on the moving elements in your images; when the moving elements are brighter than the static background (e.g. white clouds in blue sky) choose ‘lighten’, and when darker (e.g. storm clouds) choose ‘darken’.
Ideally, if your tripod did its job, all the static elements in each exposure should line up nicely. If not, you may need to mask out areas in some layers. Once created, a mask can be duplicated to other layers if needed.
Flatten the image and load more exposures – repeat until all (or enough) exposures have been incorporated.
If you like to make colour or tonal adjustments to images, apply the same adjustments to all images in a stack. Apart from RAW adjustments, I prefer to see what the merged sequence looks like before tinkering with saturation and contrast.
Put in the time and you will be rewarded with vivid and slightly surreal imagery.
The timestacks here were my first try with this technique. They employed 5-10 second intervals and a very modest number of shots (between 30 and 80), but when I find the time I hope to experiment with stacks of several hundred frames.
Please take a few minutes to take at look at Adrian’s website www.adrianmulton.co.uk
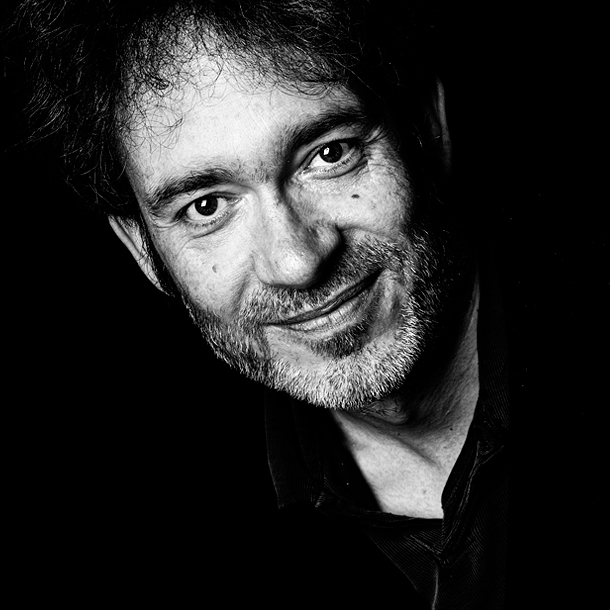
Adrian Multon